Long live Tweetbot
Table of Contents
v7.2.2) which removes the entire app functionality, and encourages users to transfer their Tweetbot subscription into Ivory. This article however is still relevant if you keep using v7.2.1 of the app. If you updated by accident, you can downgrade using this guide.This post describes how to continue using the Tweetbot iOS app after it was suspended by replacing its Twitter API key with your own, using a man-in-the-middle proxy to reroute authentication requests.
Introduction #
I’ve been a Tweetbot user for as long as I can remember, and it’s by far my favorite iOS app ever. As such, I was devastated to learn on January 12th, 2023, Twitter suspended all third party clients overnight by revoking access to their API keys.

From the Tweetbot memorial:
On January 12th, 2023, without warning, Elon Musk ordered his employees at Twitter to suspend access to 3rd party clients which instantly locked out hundreds of thousands of users from accessing Twitter from their favorite clients. We’ve invested over 10 years building Tweetbot for Twitter and it was shut down in a blink of an eye. We are very sorry to all of our customers who chose Tweetbot as their way to interact with Twitter’s service and we thank you so much for the many years of support and feedback.
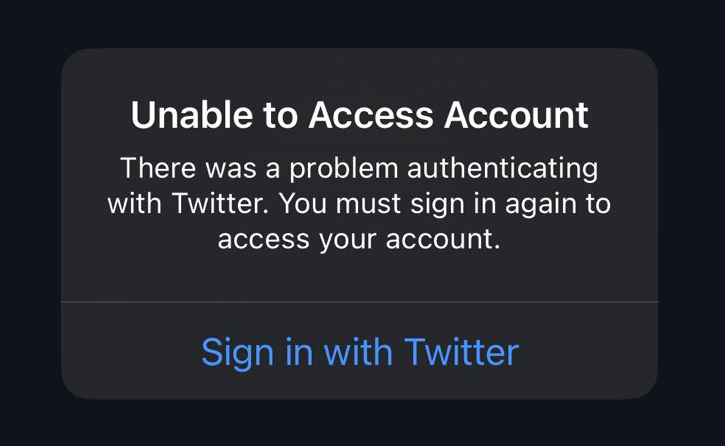
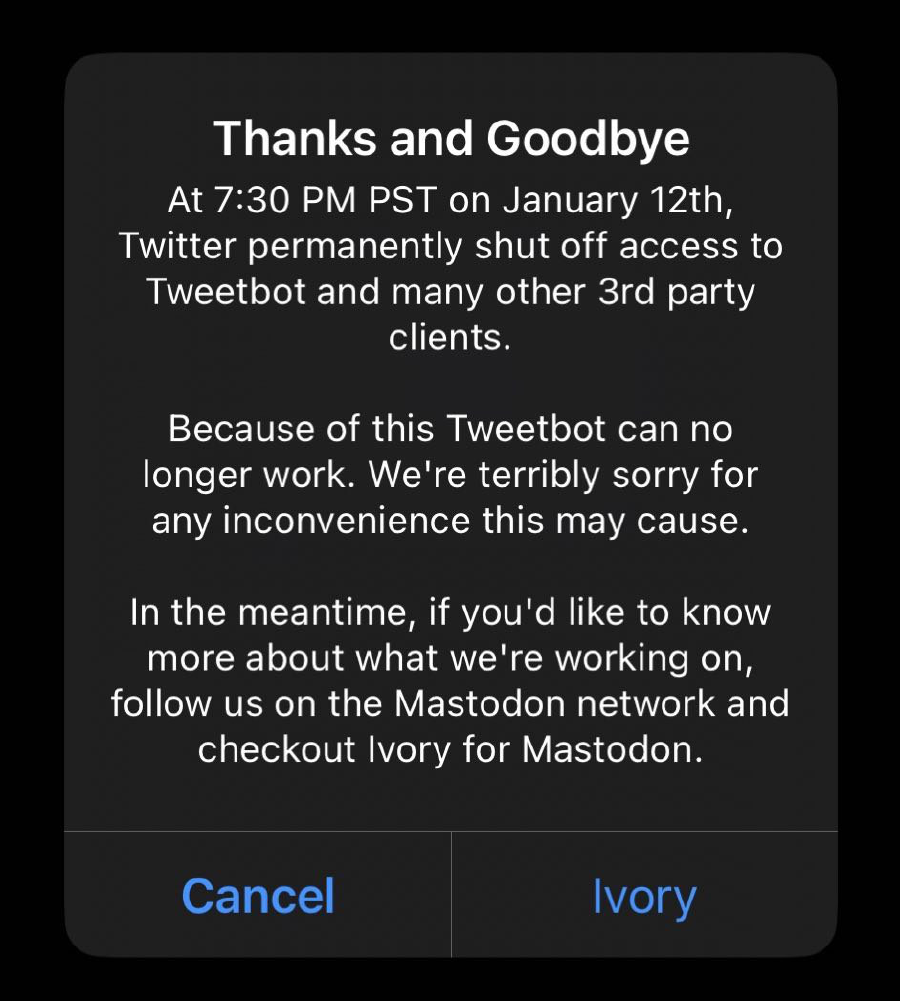
After a decade of using Tweetbot, I couldn’t stand using the official Twitter iOS app, for a number of reasons:
- Riddled with ads and trackers
- No UI customization options (such as inline media)
- Does not show my feed in chronological order by default
A glimpse of hope #
Even though I have mostly moved to Mastodon, not everyone has moved yet, so I started looking for solutions. That’s when I stumbled upon this post by developer Zhuowei Zhang, who suggested a way to use a custom API key to login and added a link to his GitHub repo for a proof of concept.
As it turns out, it totally works!
Reviving Tweetbot #
Here’s how I got Tweetbot working again on my iOS device.
1. Create a new Twitter application #
- Head over to Twitter’s developer portal and add a new Application
- Note: You may need to create a Project first
- Make sure you copy your app’s API Key and Secret somewhere
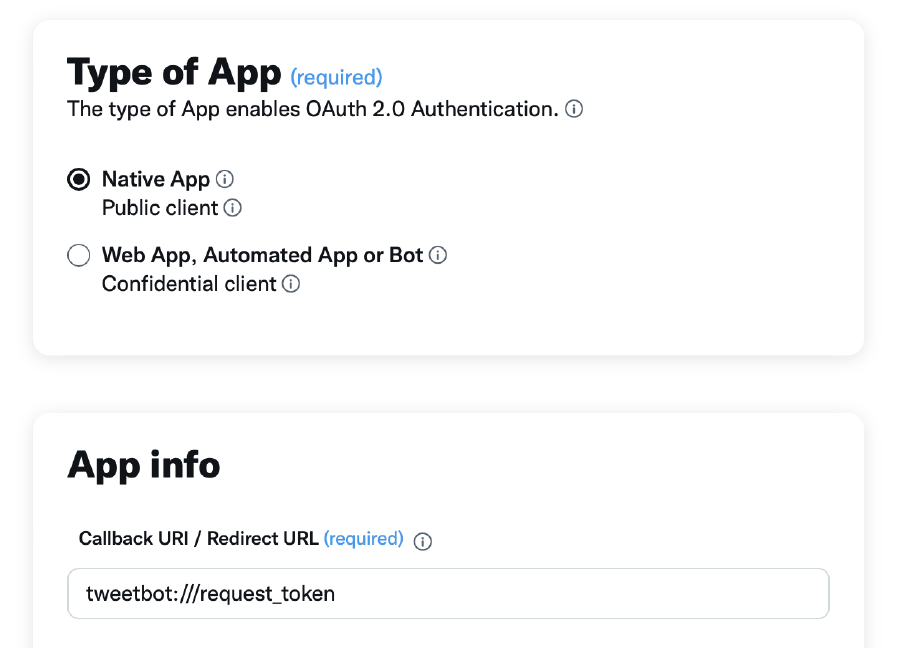
- When asked for Type of app, select “Native App”
- Use
tweetbot:///request_tokenas the callback URI - Once done, you need to enable “Elevated access” for your project
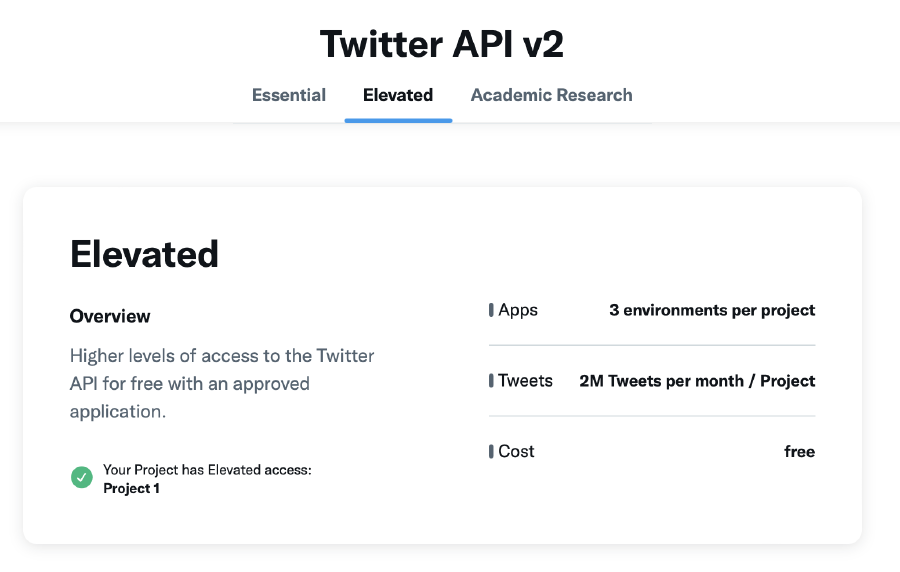
Elevated access to your app’s project2. Set up local proxy server and redirection #
Install mitmproxy (if you’re using a Mac, run
brew install mitmproxy)Clone the zhuowei/TweetbotLoginProxy GitHub repository
Edit
run.sh.templateby adding your app’s API key and secret, and rename the file torun.shSet up a local proxy to redirect Tweetbot’s authentication servers to your own local instance:
mitmweb --map-remote "@https://push.tapbots.com/@http://localhost:3000/"Run the local server with:
npm install && ./run.sh
3. Connect to the proxy #
- Make sure your iOS device is connected to the same network as your computer, and take note of your computer’s local IP address (on macOS you can find it by alt-clicking the WiFi icon in your menu bar)
- On your iOS device, go to Settings -> Wi-Fi and click the (i) button next to the name of your Wi-Fi network
- Scroll down and click on
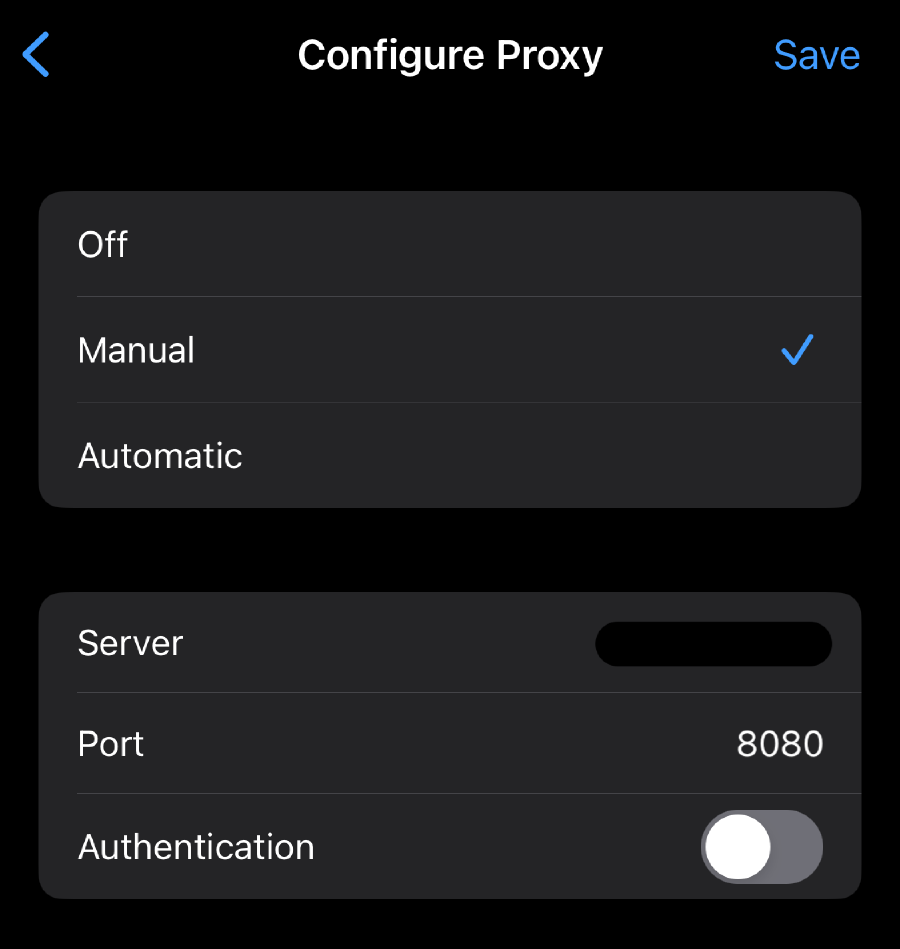
Configure Proxy, checkManualand enter your computer’s IP address in theServerfield and8080in thePortfield. ClickSaveto save your changes.
- Next, we need to install mitmproxy’s Certificate Authority to intercept HTTPS requests. From your iOS device, head over to mitm.it and click on
get mitmproxy-ca-cert.pembutton under the iOS section - You will be asked if you want to download the configuration profile - press
Allowbutton. Now go back to the Settings app. You will seeProfile Downloadedcell at the top. Pressing it will open theInstall Profiledialog with Install button at the top - press it and verify the installation with your passcode1 - Go back to the Settings app home page and go
General->About->Certificate Trust Settings. Make sure the switch next tomitmproxytext is on. At this point, yourmitmproxyinstance should be showing HTTP requests that iOS and various apps are making in the background1.
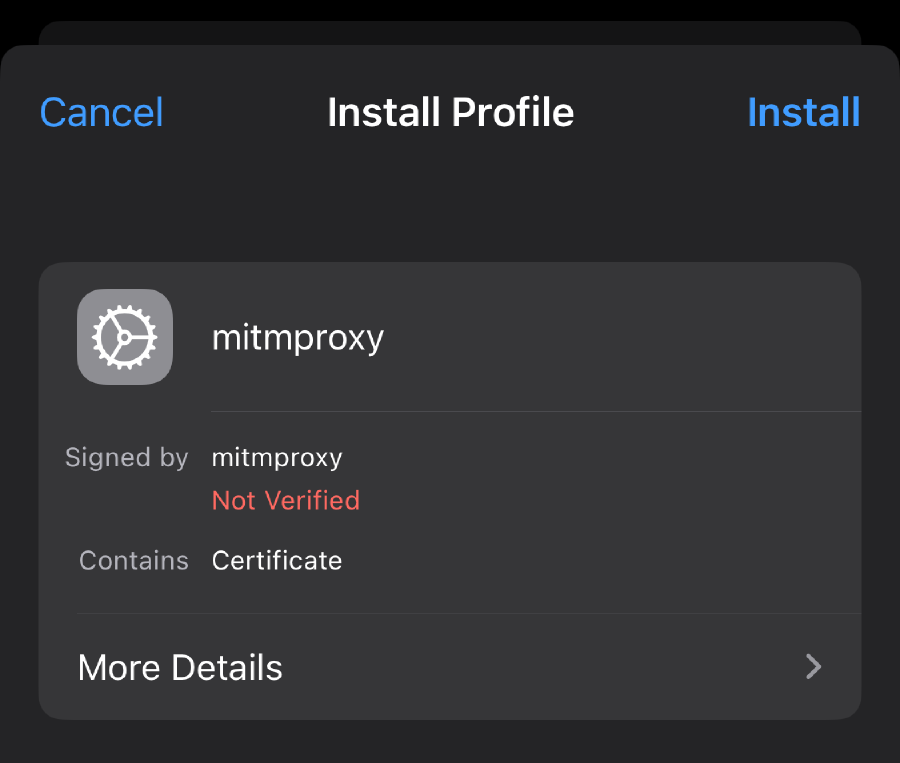
mitmproxy’s profile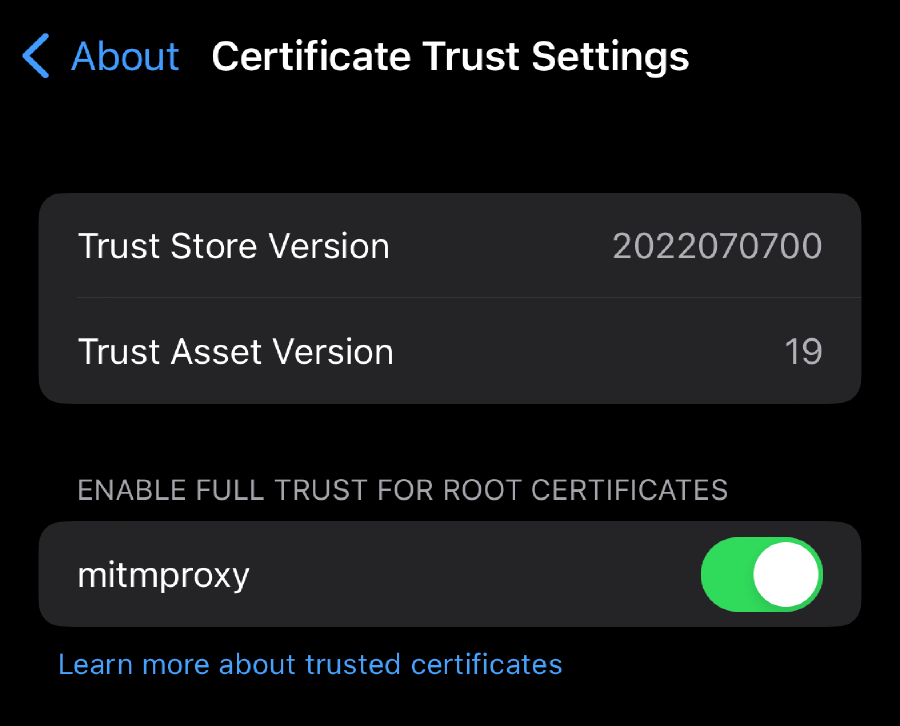
mitmproxy’s profile4. Test it out #
Finally, open the Tweetbot app on your iOS device and try to log in. With some luck, you should be redirected to Twitter’s authorization page, showing the App you created earlier:
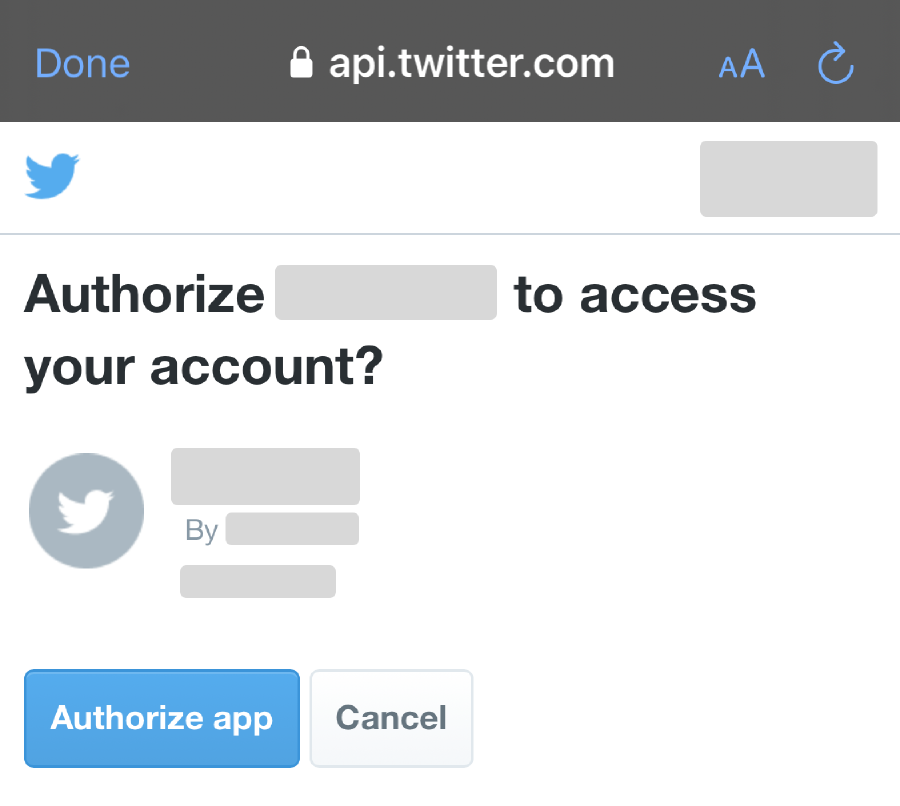
mitmproxy instance and disable proxy configuration on your iOS device.You should also be able to see mitmproxy correctly rerouting your HTTP requests through the local proxy running on port 3000:
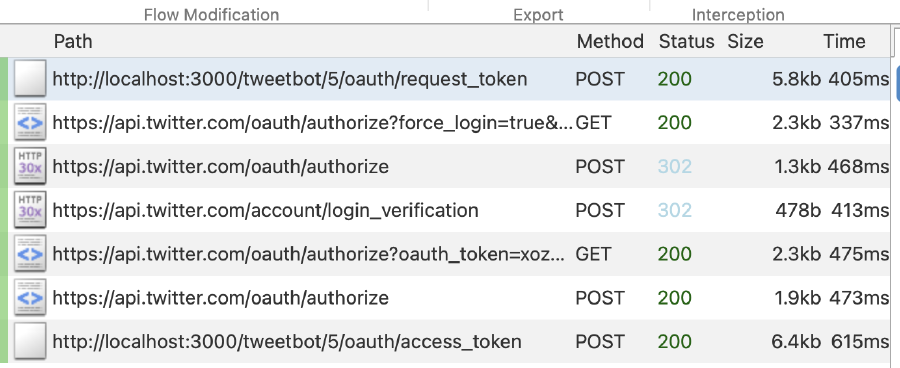
mitmproxyDisclaimer #
This is for educational purposes only. Use at your own risk!
Also consider supporting the developers behind Tweetbot by purchasing a subscription for their upcoming Ivory app!